There are plenty of codes out there on sharing data between components in Angular. But this tutorial will guide you to share data between components using RxJS Operators.
Data sharing is basically receiving data from one place to another (the place is used as a component here). This situation happens at many of the places when we are building a large scaleable application in Angular.
Table of Contents
What is the need of sharing data between components in Angular
There could be multiple scenarios in which we need to share data between components in Angular. Some of them are as follows.
Performance Optimization

This is the main reason we share data between components. We can obviously fetch the data by calling the API again. But that makes an unnecessary API call. Getting already fetched data prevents unnecessary API calls and improves website performance.
Here is my detailed article on 5 Best Ways To Optimize Angular For Scaling.
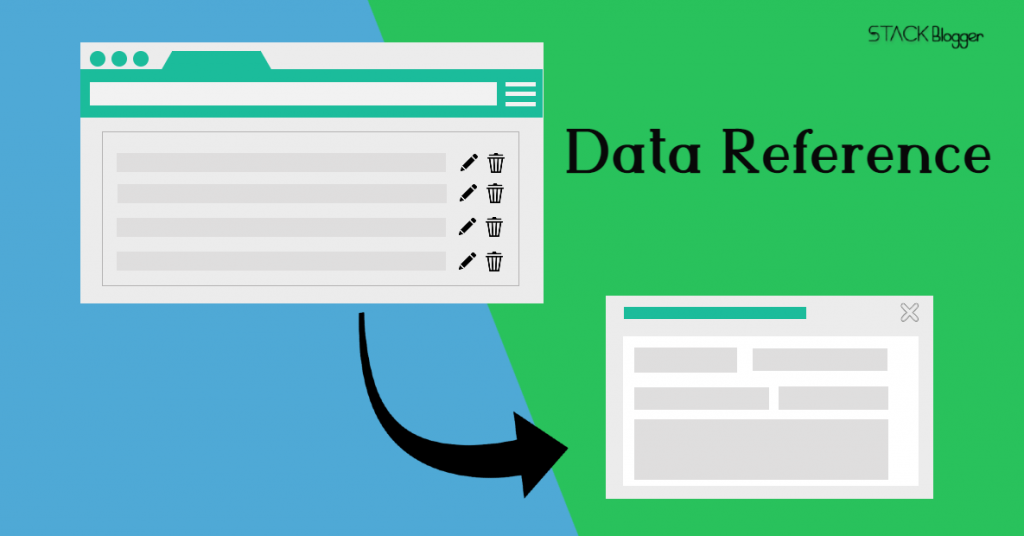
Data Reference

This situation happens many a time especially in CRUD operations where we need to fetch complete detail based on the id field on the Edit button click.
Events Generation
![[StackBlogger] Refresh on Events](https://d3fgxzvfb3kaqs.cloudfront.net/wp-content/uploads/2021/11/Events-Generation-StackBlogger-min-1024x576.png)
Refreshing the data table on the update/delete record requires events trigger from a component to another. We generate events from the source component and subscribe at the destination to perform the refresh data table.
Sharing Data Between Components Using RxJS
RxJS provides many handy operators to work with in Angular. They are fast and easy to use. We will use some of the RxJS operators to implement data sharing between components in Angular.
Pass Data Between Components Using BehaviorSubject
BehaviorSubject is a RxJS Observable that is used to hold value throughout the application. We will use BehaviorSubject to share data between components.
It always emits a value on subscription, that’s why it requires an initial value.
Note: There is no parent-child relation needed for this type of data share. Any independent component can share data with any independent component.
data.service.ts
Declare and initialize a BehaviorSubject dataSource variable along with an Observable data variable.
1 2 3 4 5 6 7 8 9 10 11 12 13 14 15 16 17 18 | import { Injectable } from '@angular/core'; import { BehaviorSubject, Observable } from 'rxjs'; @Injectable({ providedIn: 'root' }) export class DataService { private dataSource: BehaviorSubject<string> = new BehaviorSubject<string>('Initial Value'); data: Observable<string> = this.dataSource.asObservable(); constructor() { } sendData(data: string) { this.dataSource.next(data); } } |
A default value is provided to the BehaviorSubject variable at the time of initialization.
Make the dataSource private to prevent its accessibility from outside of the service.
sendData method is responsible to update the data in BehaviorSubject variable. The sender component will call this method with the data and the receiver component gets the data.
Note: I am passing string type of data from one component to another. If you need to pass a Model, Number, or any other type of data, you need to tell it to BehaviorSubject at the time of declaration.
sender.component.ts
Inject the service and call the sendData method with new data in sender component.
1 2 3 4 5 6 7 8 9 10 11 12 13 14 15 16 17 18 19 20 21 22 | import { Component, OnInit } from '@angular/core'; import { DataService } from '../data.service'; @Component({ selector: 'app-sender', templateUrl: './sender.component.html', styleUrls: ['./sender.component.scss'] }) export class SenderComponent implements OnInit { constructor(private dataService: DataService) { } ngOnInit(): void { this.sendNewData('New Data Here'); } sendNewData(data: string) { this.dataService.sendData(data); } } |
receiver.component.ts
Inject the service and subscribe to the data variable in ngOnInit to get the latest data.
1 2 3 4 5 6 7 8 9 10 11 12 13 14 15 16 17 18 19 20 21 22 23 24 | import { Component, OnInit } from '@angular/core'; import { DataService } from '../data.service'; @Component({ selector: 'app-receiver', templateUrl: './receiver.component.html', styleUrls: ['./receiver.component.scss'] }) export class ReceiverComponent implements OnInit { constructor(private dataService: DataService) { } ngOnInit(): void { this.getData(); } getData() { this.dataService.data.subscribe(response => { console.log(response); // you will receive the data from sender component here. }); } } |
Sharing Data Between Components Using EventEmitter
EventEmitter extends RxJS Subject to transfer data from one component to another in Angular. In this method the data is emitted from source to destination. Event emit method internally calls the Subject next().
Note: There is no parent-child relation needed for this type of data share. Any independent component can share data with any independent component.
data.service.ts
Declare EventEmitter variable in the Data Service file.
1 2 3 | dataByEvent: EventEmitter<string> = new EventEmitter<string>(); |
It does not need any default value at the time of initialization.
Create a method sendDataByEvent in Data Service file to emit the data. This method will be called from the source component with data to send.
1 2 3 4 5 | sendDataByEvent(data: string) { this.dataByEvent.emit(data); } |
sender.component.ts
Call the sendDataByEvent with new data to send.
1 2 3 4 5 6 7 8 9 10 11 | constructor(private dataService: DataService) { } ngOnInit(): void { this.sendNewData('New Data for Event'); } sendNewData(data: string) { this.dataService.sendDataByEvent(data); } |
receiver.component.ts
Subscribe to dataByEvent service event variable to get the data from source component.
1 2 3 4 5 6 7 8 9 10 11 12 13 | constructor(private dataService: DataService) { } ngOnInit(): void { this.getData(); } getData() { this.dataService.dataByEvent.subscribe(response => { console.log(response); // you will get the data here. }); } |
Conclusion
RxJS Observables are handy tools to work with in Angular. It improves performance and coding readability, as well as they, are easy to use.
This article covers how to share data between components using RxJS Observables in Angular. I will keep updating this article with more ways in future.
Read more interesting articles on Angular.


