

The Remix React Framework is a modern web framework that allows you to code both the front and back end together creatively. It uses React syntax with TypeScript (or JavaScript) to build components and define route handlers for the back end. This article gives you easy-to-follow steps for deploying a React Remix app to Production with containerization.
Are you looking out to setup MySQL in Docker? Let’s look at the step-by-step way of setting up MySQL in a Docker container.
Table of Contents
Understanding Remix and Containerization
Remix lets developers use React for both the backend and front end of their apps. Unlike regular React, where data is fetched on the client side, Remix fetches data on the server side before showing it on the screen.
Containerization is like packing up all the stuff an app needs to work into a single box. This box includes the app’s code, files, and libraries, so the app can run smoothly on any type of computer setup. It allows developers to write an app once and use it on any setup. This is super useful for making apps work well during development and with different vendors.
Preparing the Remix App for Production
Get your React Remix app ready to go live! Here are some things to do:
- Finish up your environment variables in the .env file.
- Add or change any variables or values.
- Make your Remix app ready for action by running
npm run build.
Docker and Containerization
This step plays a crucial role in deploying a React Remix app to Production with Docker Containerization.
Create a Docker Compose and Dockerfile that sets up a Node.js Alpine image. This image is where we’ll run our React Remix app.
Docker Compose Script to Deploy Remix App
Here’s a setup script in Docker Compose to launch your Remix app for production. Remember, feel free to tweak it based on what you need.
1 2 3 4 5 6 7 8 9 10 11 12 13 14 | # // docker-compose.yml version: '3.8' services: site: container_name: site restart: always build: . ports: - 3000:3000 volumes: - .:/usr/src/app |
container_name: site: Sets the name of the container to “site”restart: always: Ensures that the container restarts automatically if it stops unexpectedlybuild: .: This tells Docker where to find the stuff it needs to build the app. It expects the instructions for building the app (the Dockerfile) to be in the same directory.ports: - 3000:3000: Maps port 3000 on the host machine to port 3000 inside the container. This means that if you access the application on the host, you’ll use port 3000.
Dockerfile to Hold Instructions for Deploying Remix App
Create a Dockerfile to hold the instructions for building a deploying the React Remix app to Production.
1 2 3 4 5 6 7 8 9 10 11 12 13 14 15 16 17 18 19 20 21 22 23 24 25 | #// Dockerfile FROM node:18-alpine AS base FROM base AS deps RUN apk add --no-cache libc6-compat WORKDIR /app COPY package.json package-lock.json ./ RUN npm ci FROM base AS builder WORKDIR /app COPY --from=deps /app/node_modules ./node_modules COPY . . RUN npm run build && npm cache clean --force FROM base AS runner WORKDIR /app COPY --from=builder /app . EXPOSE 3000 ENV PORT 3000 CMD ["npm", "run", "start"] |
The Dockerfile sets up Node.js 18 Alpine image to prepare the environment for the Remix app. It uses npm ci to cleanly install the dependencies. Then, it builds the app with npm run build and starts it using npm run start on port 3000.
Building and Pushing the Docker Image
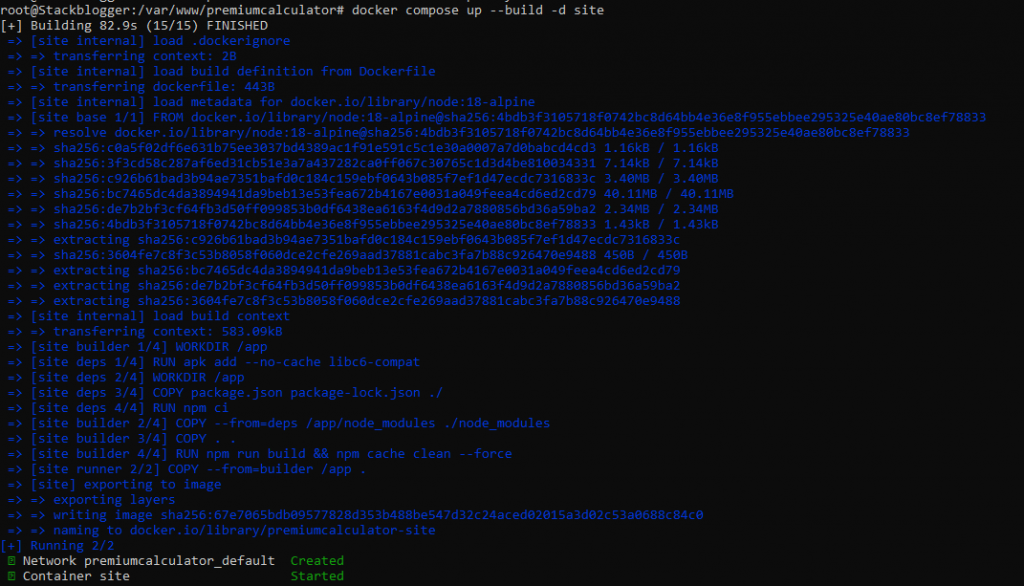
Now, it’s time to build the Docker image. Just use this command to build and launch the container.
1 2 3 | docker compose up --build -d site |
This will get the Node image from the Docker registry and publish the React Remix app into a Docker container.
Check Docker Logs
Let’s look at the Docker container logs to make sure the app started without any problems!
Run the following command to get the logs:
1 2 3 | docker logs site |

Great news! The Remix app has started successfully!
Verify on Browser
Verify the app in the browser by opening this link: http://localhost:3000
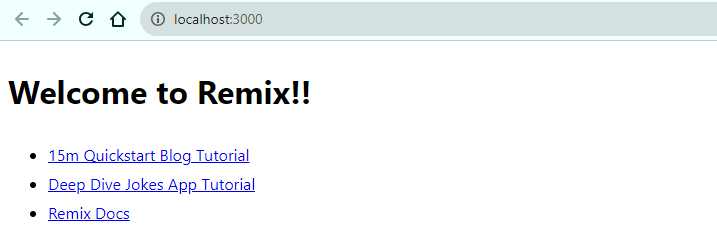
You did it! Your React Remix app is now up and running in a Docker container.
Conclusion
Here’s a quick summary of Deploying a Remix App to Production with Containerization:
- Make a Docker Compose script with your Dockerfile
- Write a Dockerfile to get NodeJs Alpine and build the app
- Update the Dockerfile to build and launch the app
- Kick off the Docker container
- Check out your site in the browser
If your Docker service won’t start, take a look at this article. It could have some tips to help you get it working again.


