

Pipe is a tool to transform data as per our need. It takes in data as input and transforms it to desired output. There are many in-built pipes available in Angular 9. Sometime we need to display data as per our need so we create custom pipes. Learn more about Pipes here.
In this story, we will learn how to create custom pipe in Angular 9.
Prerequisites
Before continuing to custom pipe creation:
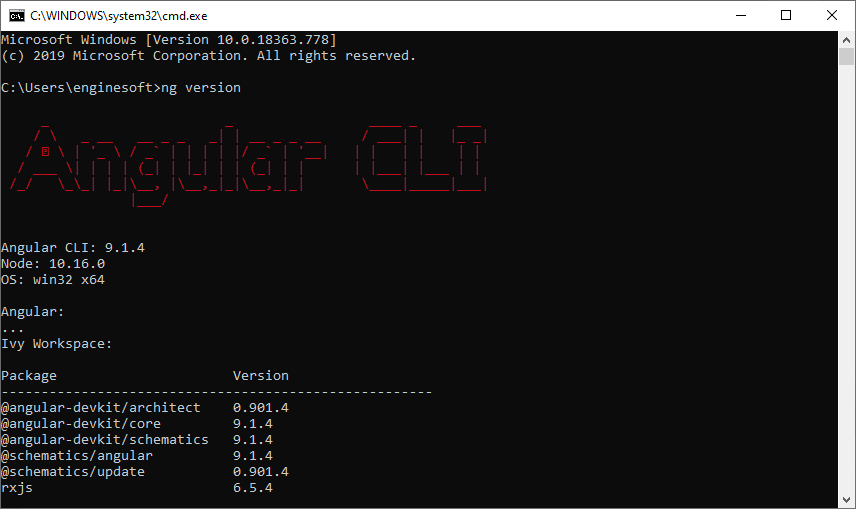
- Make sure you have Angular 9 installed on your machine. Type below command to check:
ng version
Step 1 – Generate pipe using CLI
Create a pipe using Angular CLI by running below command on command line:
ng g p custom- ng – Angular CLI command line variable
- g – shorthand of generate
- p – shorthand of pipe
- custom – our custom pipe name
It will generate a pipe named “custom” in our project and output will be like:

Custom pipe contents-
import { Pipe, PipeTransform } from '@angular/core';

@Pipe({
  name: 'custom'
})
export class CustomPipe implements PipeTransform {

  transform(value: unknown, ...args: unknown[]): unknown {
    return null;
  }

}
Step 2 – Modify pipe as per need
Special characters remover:
We will modify the custom pipe contents to work as Special Characters remover from the string and then bind on page.
import { Pipe, PipeTransform } from '@angular/core';

@Pipe({
  name: 'custom'
})
export class CustomPipe implements PipeTransform {

  transform(value: string): string {
    return value.replace(/[^a-zA-Z ]/g, "");
  }
}
String separator by capital letter:
Custom pipe will separate the strings by capital letters in any string. Example:
FirstName -> First Name
LastName -> Last Name
EmailAddress -> Email Address
import { Pipe, PipeTransform } from '@angular/core';

@Pipe({
  name: 'custom'
})
export class CustomPipe implements PipeTransform {

  transform(value: string): string {
    return value.match(/[A-Z][a-z]+/g).join(' ');
  }
}
Step 3 – Use custom pipe in component
We need to just pass our custom pipe selector in the string interpolation separated with a slash (|). Example below:
{{input | custom}}Conclusion:
We studied how to create a custom pipe, how to modify its contents and how to call it inside component template.
Write me up for any queries. Thank you!